

If you have a party or a wedding to attend but you do not have time to visit a Nail Salon, nor do you have a ridiculous amount of money to spend on cuticle care, then this article is just the perfect solution for you.
Getting a Nail Manicure can be a task worth a lot of hassle and spending both your precious time and money. Instead, you can try to do a manicure at home. The good thing about DIY Home Manicure is that you can also start again if you mess up any of the steps or do not like the nail color you’ve applied and it would not cost you much, whereas in a salon if you do not like the color applied to your nails they will charge you extra money to remove and reapply.
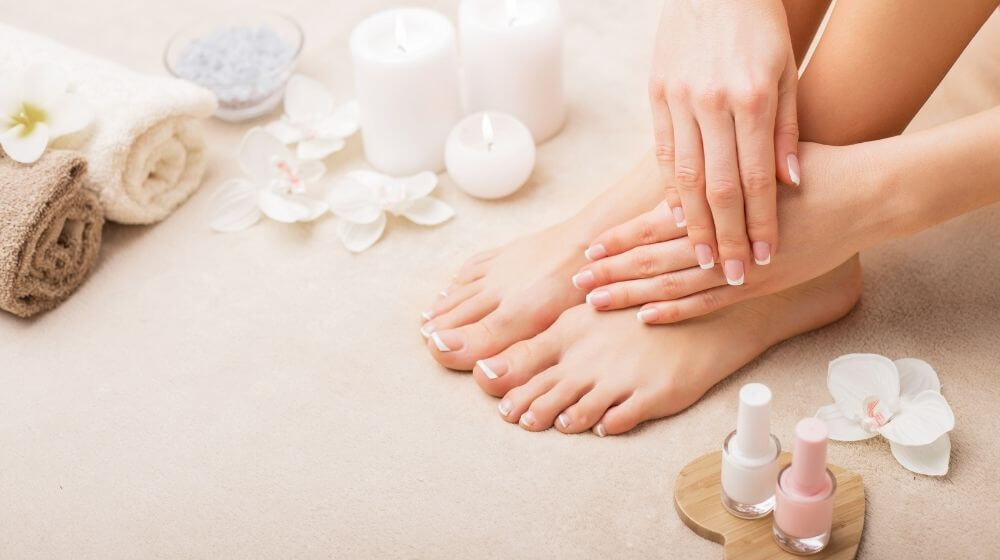
If you achieve the perfect manicure you can also try these methods for a Pedicure and save more money by not spending it on a Nail Salon.
Tools & Ingredients Required
For a perfect Salon like Manicure at Home, you need the right tools and ingredients so make sure you have these tools at home:-
- Nail polish remover
- Nail clipper
- Nail filer
- Nail Buffer
- Cotton Balls
- Cuticle pusher and Nipper
- Cuticle Cream
- Hand oil or moisturizer
- Base coat for nails
- Favorite Nail color
- Top coat for nails (clear)
- Bowl filled with lukewarm water
- Q-tip
Now follow these steps to achieve a salon like Manicure at Home.
Steps to the Perfect DIY At-Home Manicure
Clean your Nail
You need an empty canvas for your artwork, so you should remove any leftover nail polish trace from your nails. Pour a few drops of any nail polish remover onto a cotton ball or cotton pad and start removing the previous nail color. Make sure to clean your nails neatly and perfectly so that there is no trace left of the previous nail color. Keep in mind; you should apply a non-acetone nail polish remover to clean your nails. Non-acetone nail polish removers do not dry up your skin around your fingers and some removers even come with added moisturizing oils to keep your nails and nail bed from drying up.
Shape, File, and Buff your Nails
If your nails have grown longer and you want them a little bit on the shorter side, take a nail clipper and clip the nails into the desired shape and size. After you are done with the nail clipping, take a nail filer and file the sharp edges of your nails and file them to smoothen the edges. When the edges are smooth and you don’t feel any sharpness around your nails, take a nail buffer and buff the shiny surface off of your nails. Buffing the shiny surface off your nails helps remove any residual base coat left on your nail and helps the nail paint stick better on a less smooth surface.
Soak
Now that you are done with nail buffing and filing, prepare a bowl with lukewarm water and soak your nails and hand in them. All that nail filing and buffing might have put pressure on your nails and soaking the nails in warm water not only cleans the nails but also destresses your nails. Your cuticles also soften a bit when soaked in warm water and make it easier for you to perform cuticle clean up afterward. Adding a bit of face cleanser or any kind of baby shampoo is also a good idea to help clean your nails properly from all the nail dust. Don’t forget to clean all the dirt from under your nails and wash them properly in the water as well.
Cuticle Care
The next step is to properly clean your cuticles. Cuticles are the layer of skin and the edge of your nail’s bottom. The skin appears soft and can be easily removed to make your nails appear longer. You can apply a bit of cuticle cream before cleaning them. If you do not have cream available a little moisturizer might do the trick. Then take a cuticle pusher or a cuticle stick and gently push back your cuticles. Never apply too much pressure as it might lead to damage to your nails and cause infection. Wipe the excess cream and prepare for the next step.
Moisturize your Hands- Your hands go through a lot when you are applying a manicure. Applying chemicals and wearing and tearing of skin on your hands can be harmful if you do not take care of them properly. Apply a thick layer of intensely hydrating moisturizer to moisture lock your hands and make them stress free. You can also use rose hip oil or any moisturizing essential oil which helps hydrate your skin.
Nail Prep
If you have too much moisturizer on your nails, the nail polish might not stick to your nails. Take a cotton pad and remove excess moisturizer from only the surface of your nails and start with your manicure. Just make sure the nail polish remover is a non-acetone one.
Base Coat
Before you apply your nail paint, apply a layer of base coat on your nails. Base coat helps the nail paint to be able to spread onto your nails more evenly and it makes sure the color also shines more brightly onto your nails. Base coats can be of the color white and also clear and transparent, choose whichever base you want to put onto your nails and prepare for your favorite nail color. Base coat is also helpful if you do not want the bright nail color to stain your nails.
Nail Color
After you’re done apply the base coat; you can move onto applying a layer of your nail paint you want to use. Apply a thin layer of the nail paint, make sure to not double dip and overlap any nail paint already on your nails. Let the first layer dry completely and then apply a second layer of the nail paint. If you want, you can apply a third layer of the paint for a more prominent color. Just make sure the nail colors do not overlap and ruin the perfect finish on your nail paint job.
Top Coat
After all the layers of your nail color have completely dried, apply a layer of clear top coat to finish the job. Top coat helps to make the nail paint last longer and makes sure it does not chip. Do not forget to coat the tips of your nail with top coat as well. Apply a second layer of Glossy top coat for better protection and let your nails completely dry off. It is also advisable to apply a layer of top coat every 3-4 days to make your nail paints last even longer.
Clean up
Take a Q-tip and add a bit of nail remover onto it. Then gently remove any excess nail color that you might have mistakenly applied to the skin around your nails. If you have made mistakes on applying the nail paint and smudged it somehow, you can easily fix it with some nail polish remover and a Q-tip for better operation.
Have Fun
Now that you have knowledge on the basics of Manicure you can use this to perform a Pedicure as well. You can follow some YouTube tutorials on Marble Nail art, different kinds of nail art and develop those artistic imaginations onto your nails. You can take a paint brush and portray your emotions through your nails. You can stick cute and fancy jewels onto your nails and bedazzle them. You can even perform a gradient nail art using a sponge and your favorite nail colors. There are lots of tutorials online on a variety of fancy nail art to suit your liking.
Just make sure to clean your nails properly after every manicure session and do not use excessive amounts of nail polish remover. Also, maintain proper nail hygiene. Remember to add zinc and Biotin into your food diet so that you have strong and healthy growing nails that do not break off easily.
If you have any nail injury or are allergic to any chemicals used in Nail polish remover or nail paints, get a consultation from a medical professional immediately. Do not perform a manicure if you have cuts or injury on your nails or the skin around your nails as a manicure might do more harm to the injury.